Designing and decorating a room for your toddler can be a tricky task! There’s an ongoing balancing act between creating a beautifully decorated space and making sure the room functions well for your young kiddo. The process of setting up a toddler girl’s bedroom is something that takes purposeful designing, and yet it is also completely doable and quite fun! In today’s post, I’m going to take you behind the scenes and show you how we merged style and function in our 3-year-old daughter’s bedroom makeover!

TODDLER GIRL BEDROOM MAKEOVER
I am so excited to walk you through the toddler girl bedroom makeover we recently did for our daughter, Chloe! She had been so eager to have her own “big-girl” room and this room turned out to be exactly what she’d been dreaming of.
In today’s tour, I’m going to share with you our room makeover process, from designing to prepping to decorating, in hopes that it will give you the insight and inspiration you need to create a wonderful toddler girl bedroom in YOUR home!
STEP 1: DESIGN
The first step in the room makeover process is planning out the design for your room. Think through and make a list of all of your or your kiddo’s “must-haves” for the space – could be a spot to store their shoes, or a big basket for all their balls .. Then, think through how you could accommodate these needs in a pretty way. Could you store their shoes in a closed bin? Could you put their balls in a basket in the closet or under the bed?
As my husband and I discussed what our daughter’s room needed in the way of “function,” we identified that three things were critical: toy storage, clothes storage, and guest sleeping arrangements. To accommodate these things, our design included toy bins (in the closet), a dresser large enough for her clothes, and a daybed with a trundle that could be used when guests stayed over.
To keep costs down, we chose to trade daybeds with my mom (the one we previously had had storage underneath and hers had a trundle), reuse the bedding and curtains Chloe already had, and thrifted the dresser.
Then, to add more FUN (and a bit of function) to the space, we designed a “tunnel” between our kids’ rooms with a barn door to close it off. The kids were still hesitant about sleeping in separate rooms, so we figured the tunnel would give them a sense of being in the same room, even though they aren’t. 😉
Here is a look at our mood board for the room:
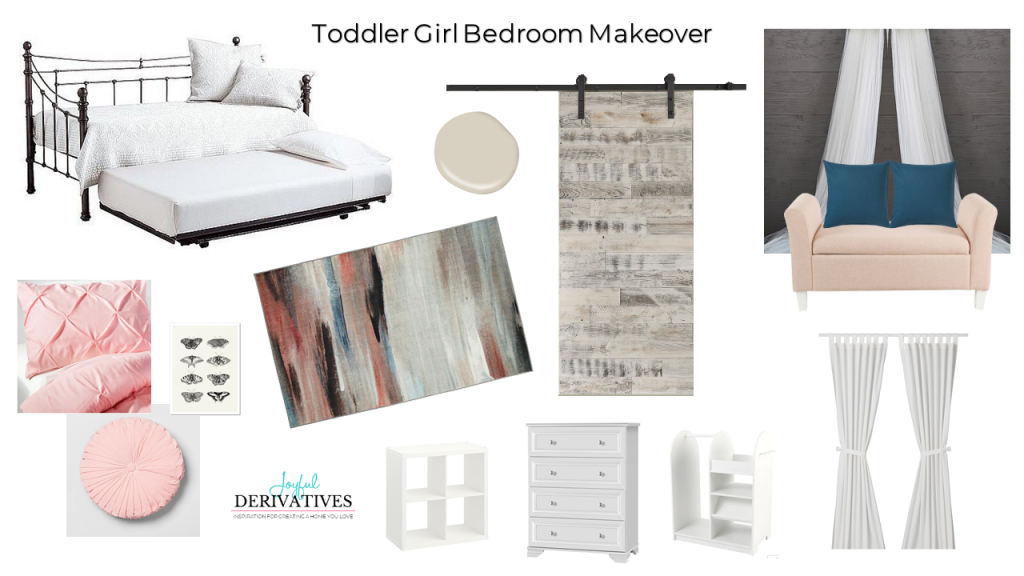
You can read more in-depth details about our design here.
STEP 2: PREP
The next step in creating a fun and stylish toddler girl bedroom is prepping the room. One of the biggest mistakes people make when giving a room a makeover is forgetting to declutter and get rid of all the furniture and stuff that isn’t in their new design. It is critical that you do this!
Prior to making our third room into Chloe’s toddler girl bedroom, we had used it for a whole array of things – a guest room, an office, even a storage space – and it was NOT a pretty sight… There was a lot of prep work that went into getting her bedroom ready.
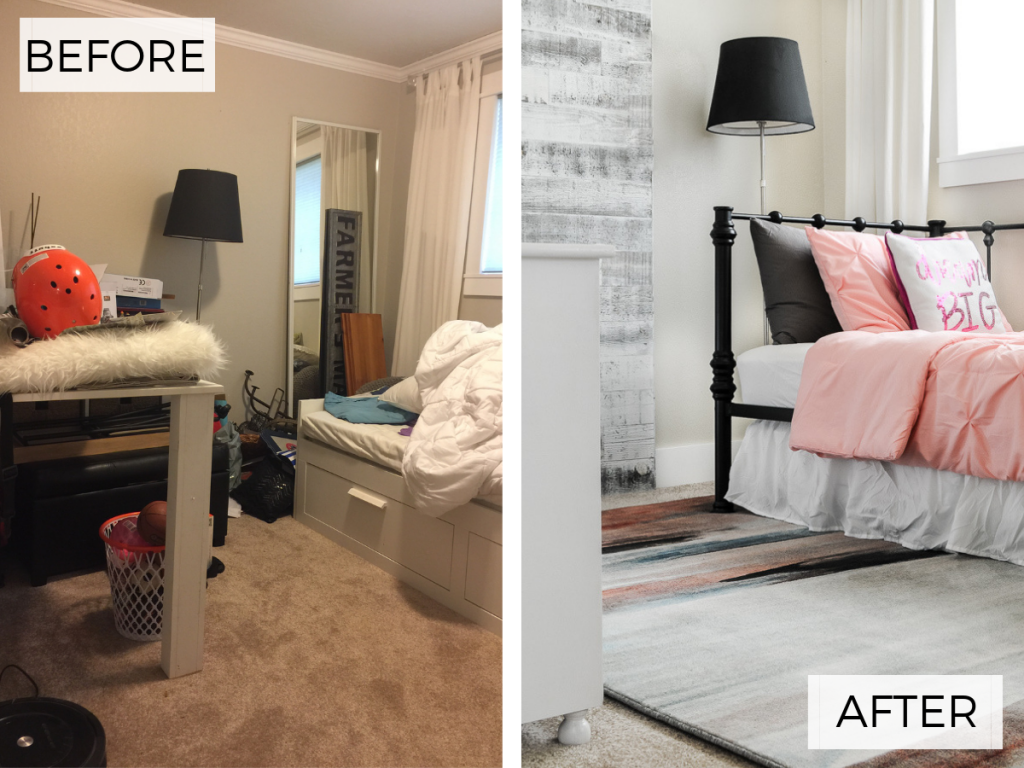
Here’s a before picture of her bedroom:
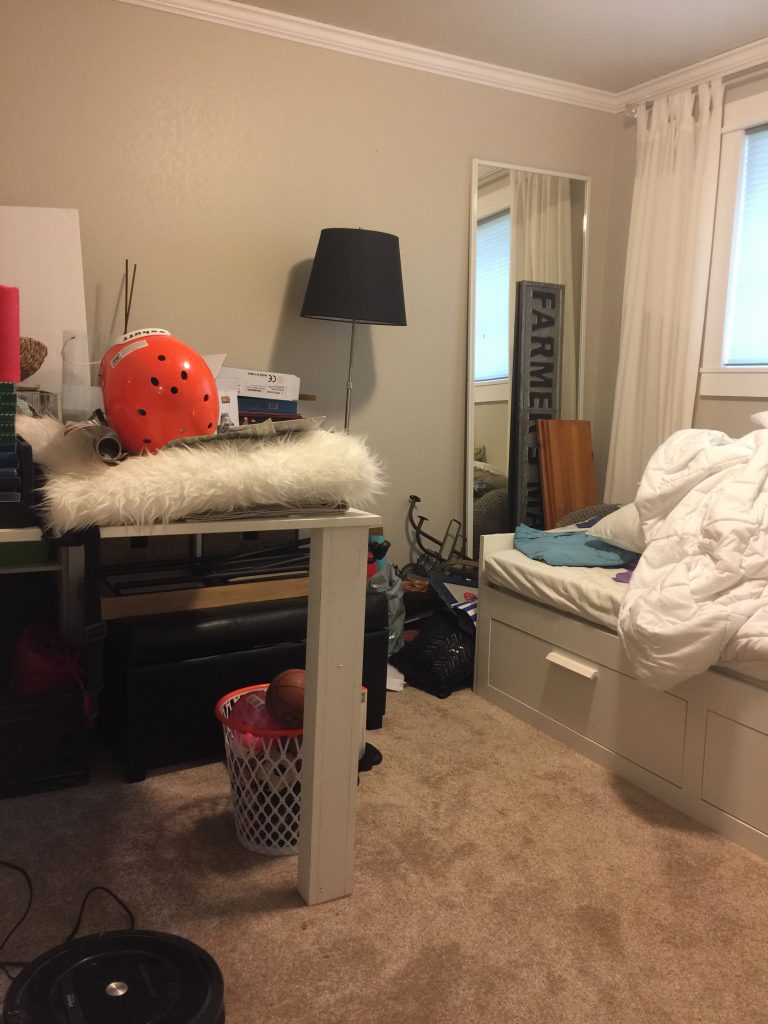
It was a mess! We literally took everything out that was no longer going to be a part of her room (I think the only things we left were the mirror, lamp and curtains) and then either donated, sold or stored the rest. That way, when we started decorating, the room was cleared out and ready to go!
STEP 3: DECORATE
The last step is my favorite – decorating! I LOVE bringing my designs to life, and you should too! Don’t second-guess the designs you’ve come up with – the important thing is that you think it’s pretty and your toddler thinks it’s fun. Oh, and that you’ve included your “must-haves”, of course. 😉
The first thing we did in our room was build the tunnel and install the sliding barn door. My husband spent about 4 hours one night installing the tunnel (there was a bit of rewiring that had to happen so that made it a bit trickier) and then we built and installed the barn door on a Saturday while the kids napped.
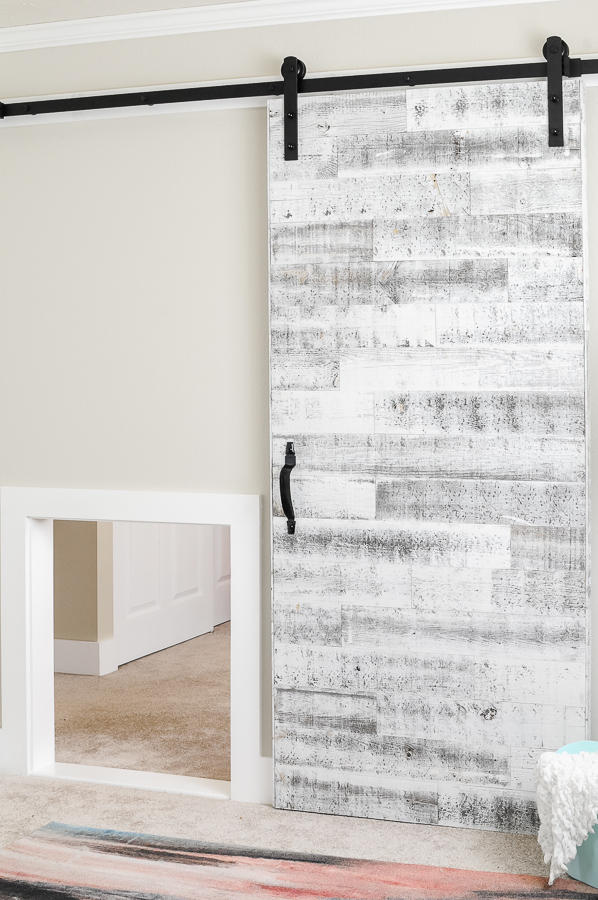
This playful element is one of my daughter’s favorite parts of the room. The morning after we completed it the kids were closing their bedroom doors and playing “escape” into each other’s rooms. It was pretty cute.
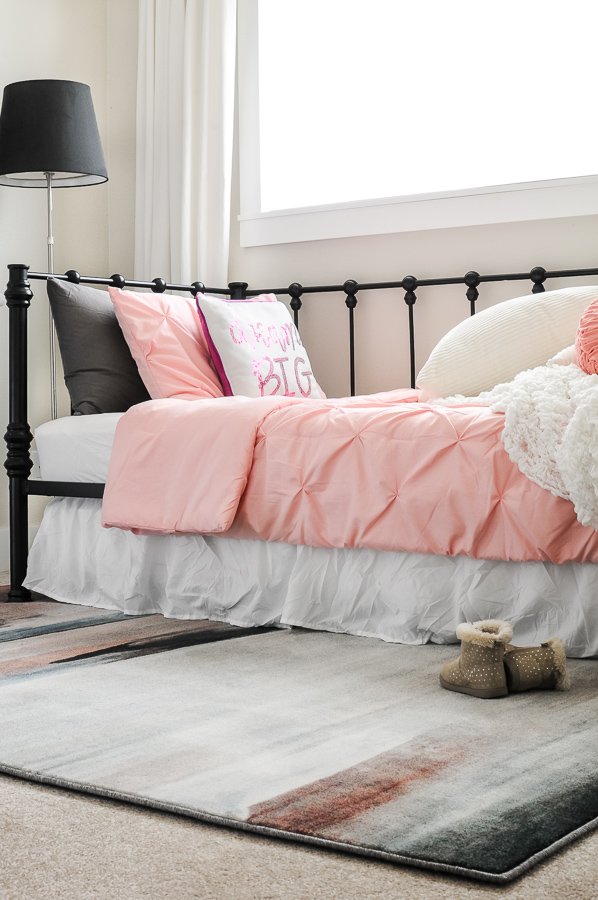
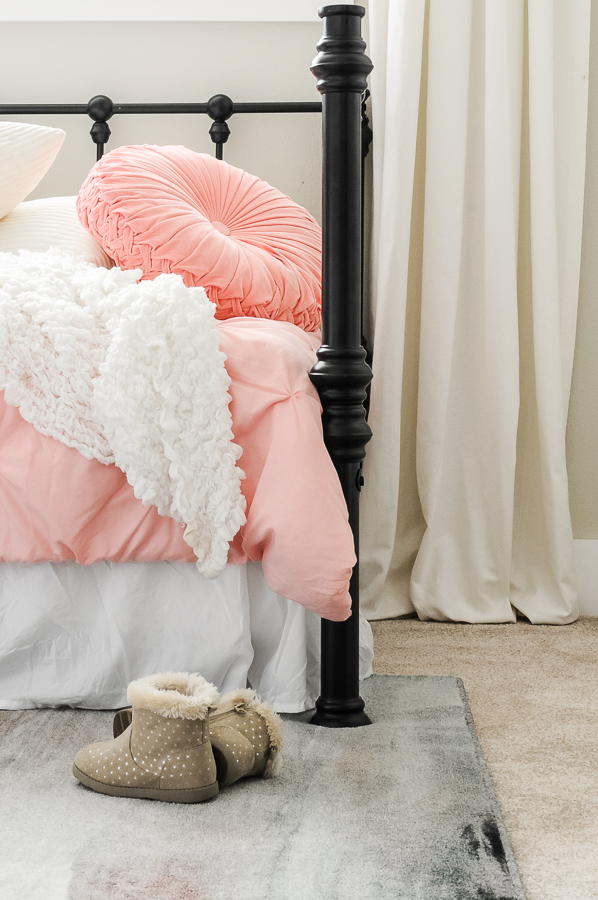
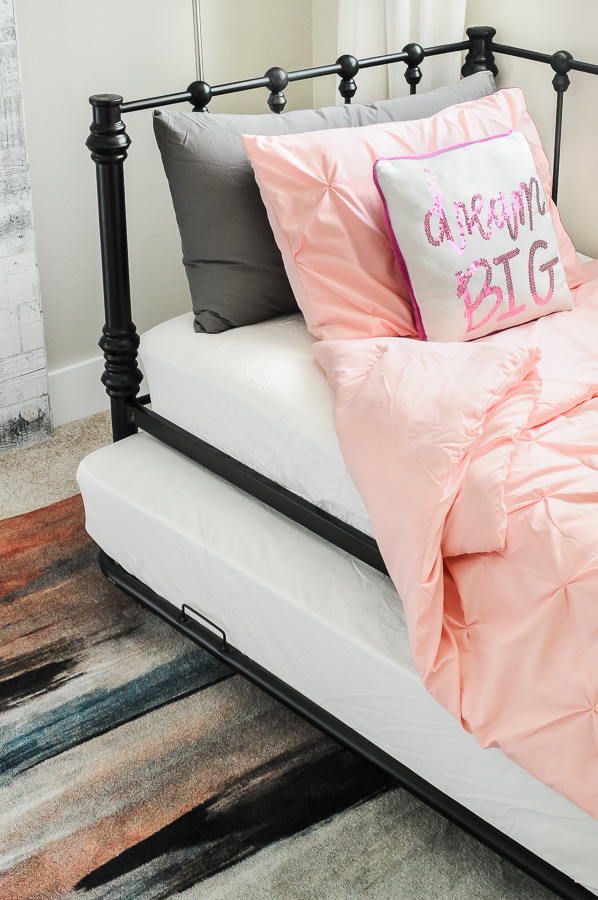
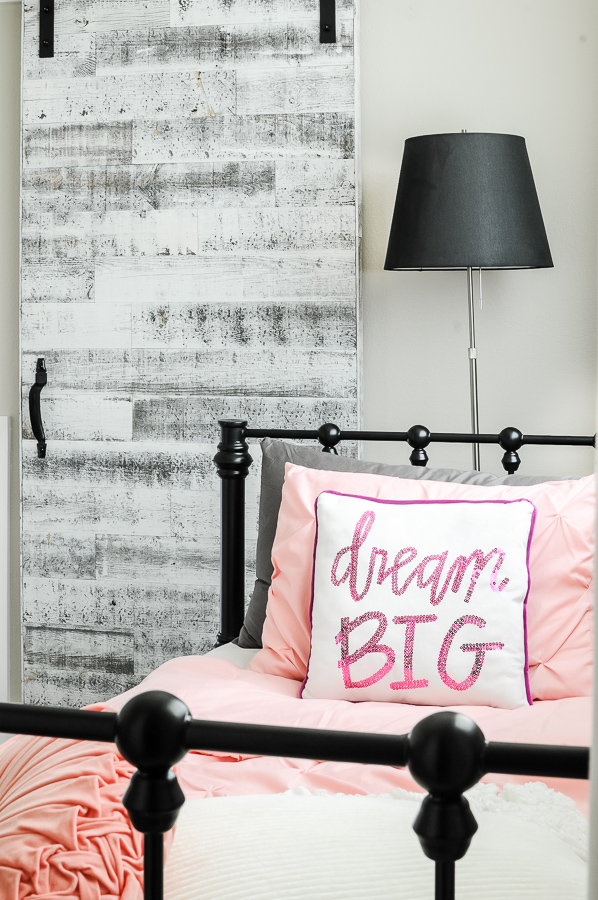
Once the construction was done, it was time to bring in the furniture, decor and rug! The daybed fit perfectly under the window, framed by the long, white curtains.
The trundle is hidden behind a simple bed skirt but can easily be pulled out when guests arrive!
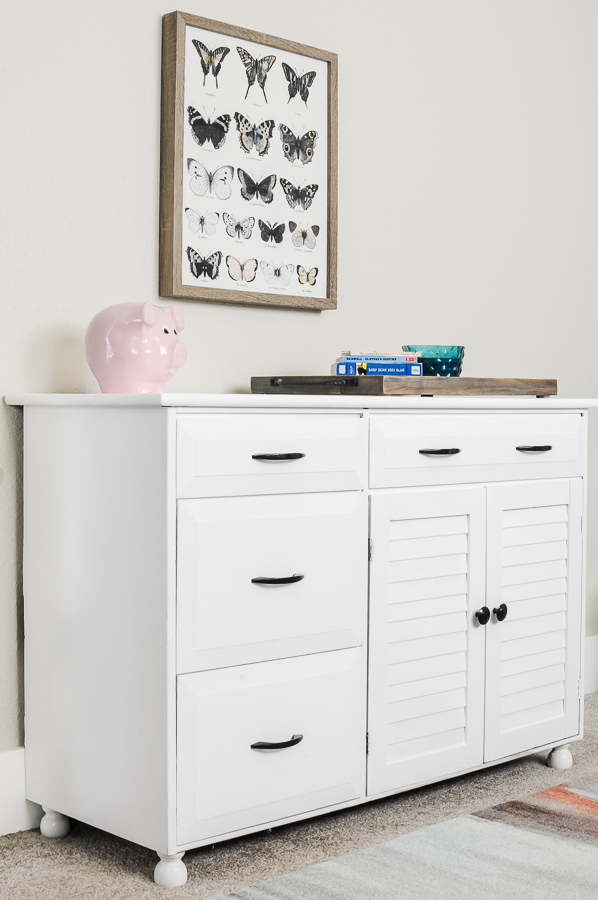
The dresser is across from the bed, on the hallway wall, and it houses all of Chloe’s clothes. I chose to keep the accessories simple on here – just a piggy bank, a tray holding books and a candle, and one butterfly print above the dresser.
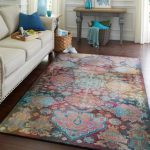
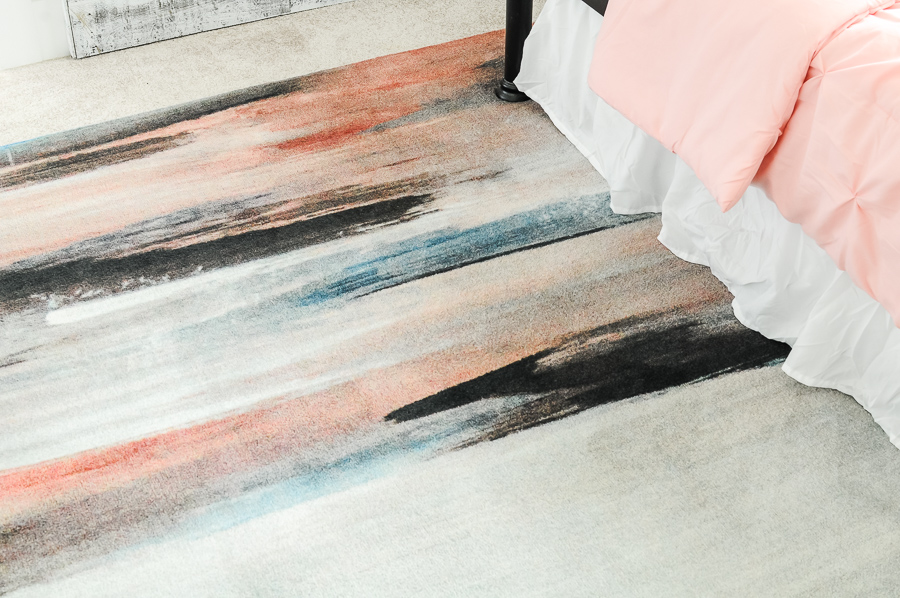
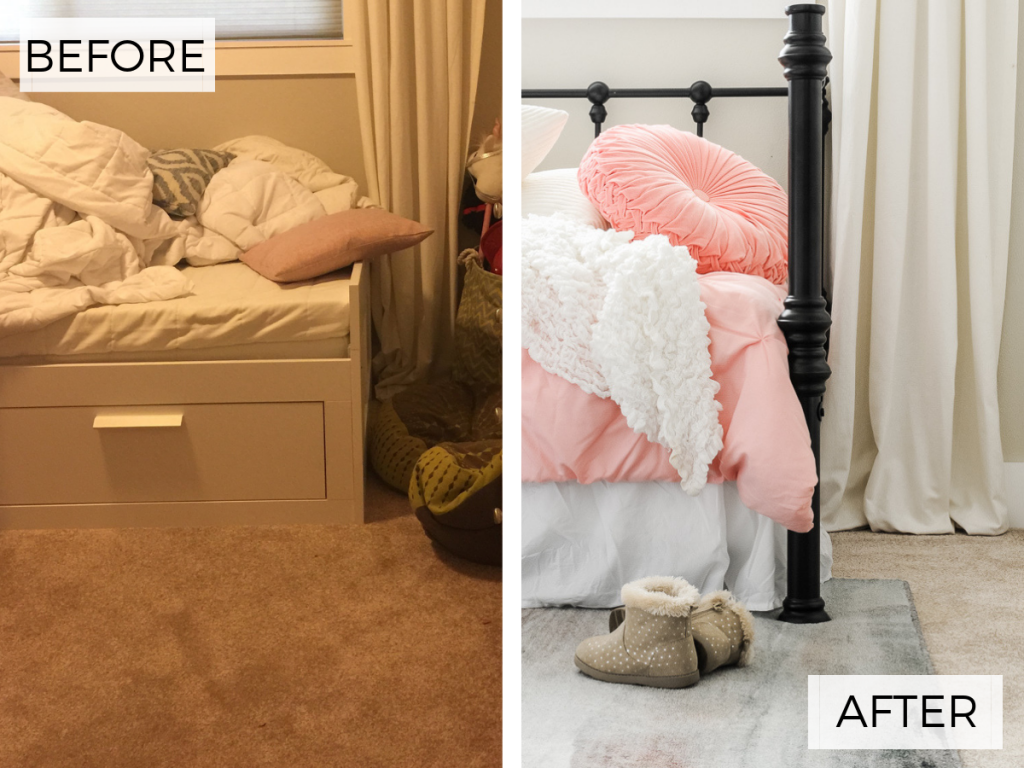
My favorite part of this entire design, and the thing that truly makes the space feel chic, is this beautiful Mohawk Home Day Dream area rug in Blush. I am IN LOVE with the brush strokes pattern and the colors are truly stunning.
Because this room is only about 10’x10’ in size, we chose to order the 5’x8’ rug and it ended up fitting perfectly, with a small strip tucked just a few inches under the front of the bed. We also ordered the additional rug pad to place under it – I wasn’t sure if it was going to be needed with the rug being on top of the wall-to-wall carpet – but I’m glad we did! It adds just the right additional amount of coziness.
If you need help figuring out what size rug to get for your space, be sure to check out my Roadmap to the Perfect Area Rug buying guide!
I was also pleasantly surprised by how soft the rug is! The first thing my daughter did when we put the rug in the room was lay down and start rolling around on it. I am so thankful it will be a comfortable foundation for her to play around on in her new bedroom!
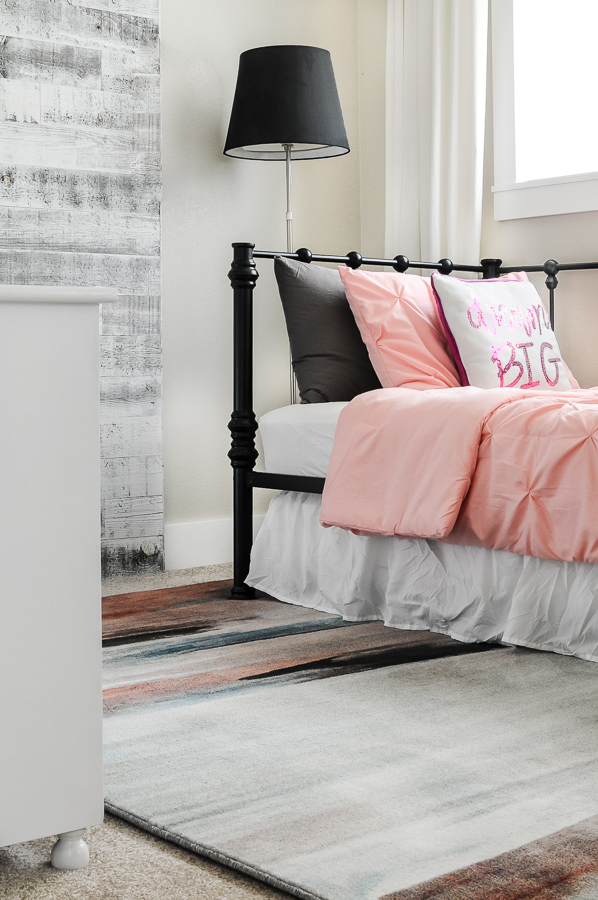
The grey floor lamp was one thing we already owned and is an adjustable height lamp with a dimmer. We tucked it in the corner behind the head of her bed so she can easily reach it during the nights. Rather than using a night-light, we simply dim this lamp down to almost off and she feels safe and secure at bedtime!
We also placed the mirror (which was originally one of her closet doors, before we replaced them with six-panels!) on the small wall between the closet and the door. This provides her with a nice, full-length mirror for getting dressed, while the reflection of the room definitely makes the space feel larger.

So, what do you think of our daughter’s new toddler girl bedroom? It was a pretty drastic makeover, don’t you think?! Here are a few fun, before/after side-by-sides – since they’re my favorite. 😉

I hope you enjoyed this tour of our toddler girl bedroom makeover and that it inspires you to tackle your own room makeover for the young girl in your home! It’s honestly amazing to me how much joy a child can get over a fun and stylish room set up and purposefully decorated just for them. 🙂
Also, be sure to check out our other room makeovers over on my blog, Joyful Derivatives! We’ve done a modern rustic bathroom, a farmhouse master bathroom, a moody dining room (also featuring a Mohawk Home rug!) and a traditional living room. Can you tell I like room makeovers? 😉
Have a wonderful week, friends!