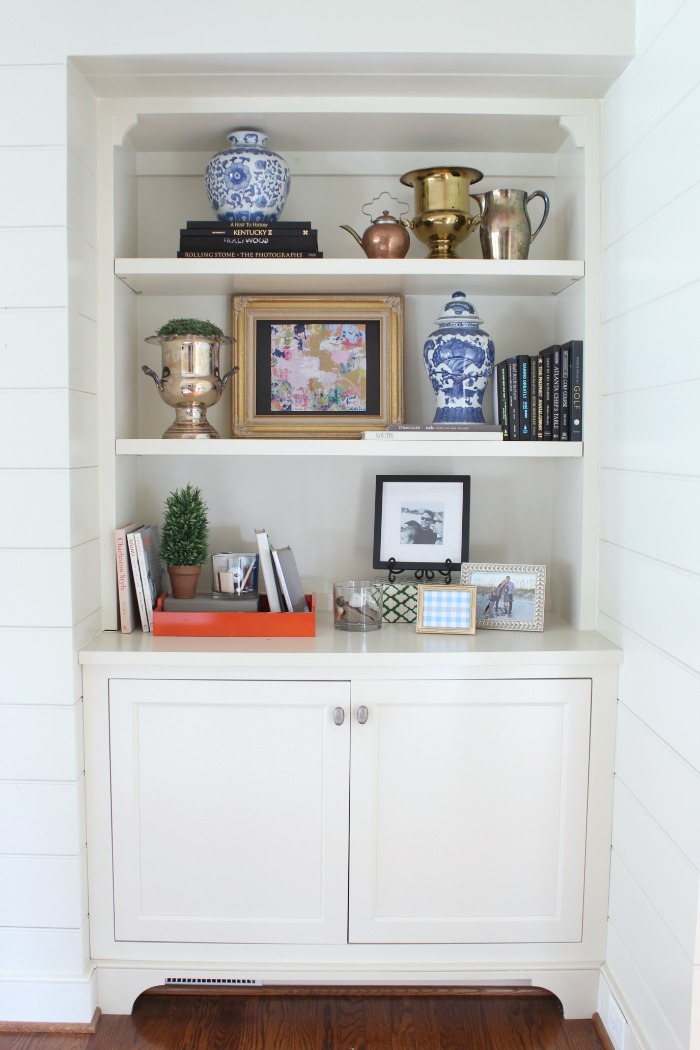
Bookshelves can be the perfect addition to any room, but styling them can be a bit tricky. With either too few or too many items I sometimes feel like Goldilocks trying to get it just right. If you have every spent time styling bookshelves, then you know how difficult this seemingly easy task is!
So here are my six steps to help you achieve perfectly styled shelves.
STEP ONE:
Take everything off of them and start over. This may sound crazy but it really does work best to have a fresh slate. Lay everything out on a nearby table or the floor. Keep everything you absolutely love, remove the things you no longer want to display, and do a quick lap around the house to see if there is anything else that could be a good addition to the shelves. Put all of the available “inventory” together. OK, now you know what you are working with!]
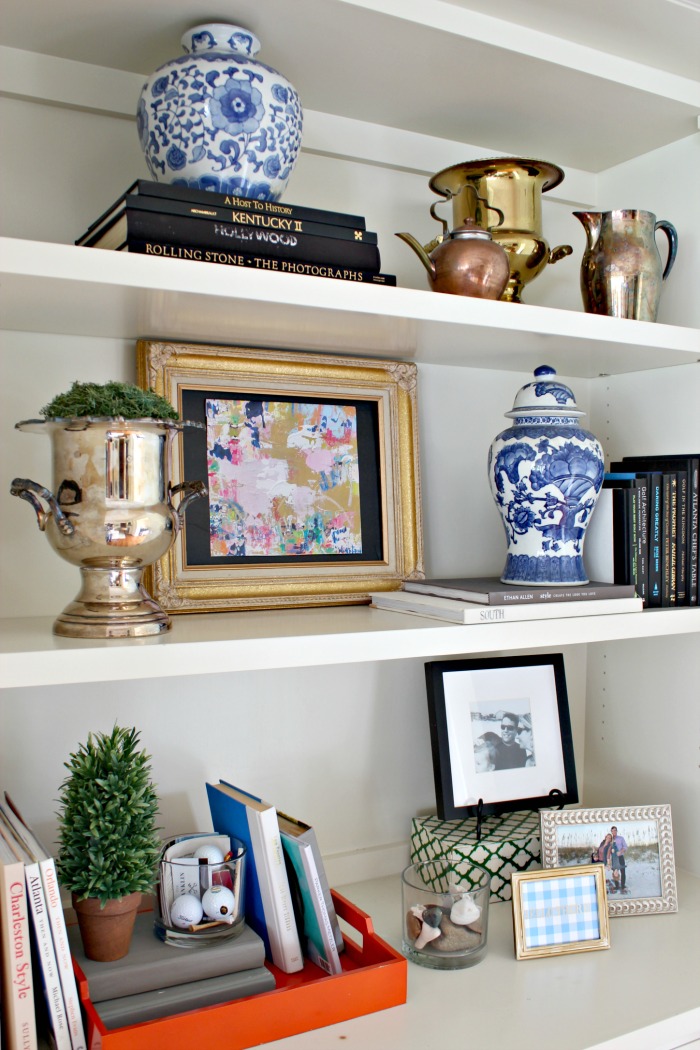
STEP TWO:
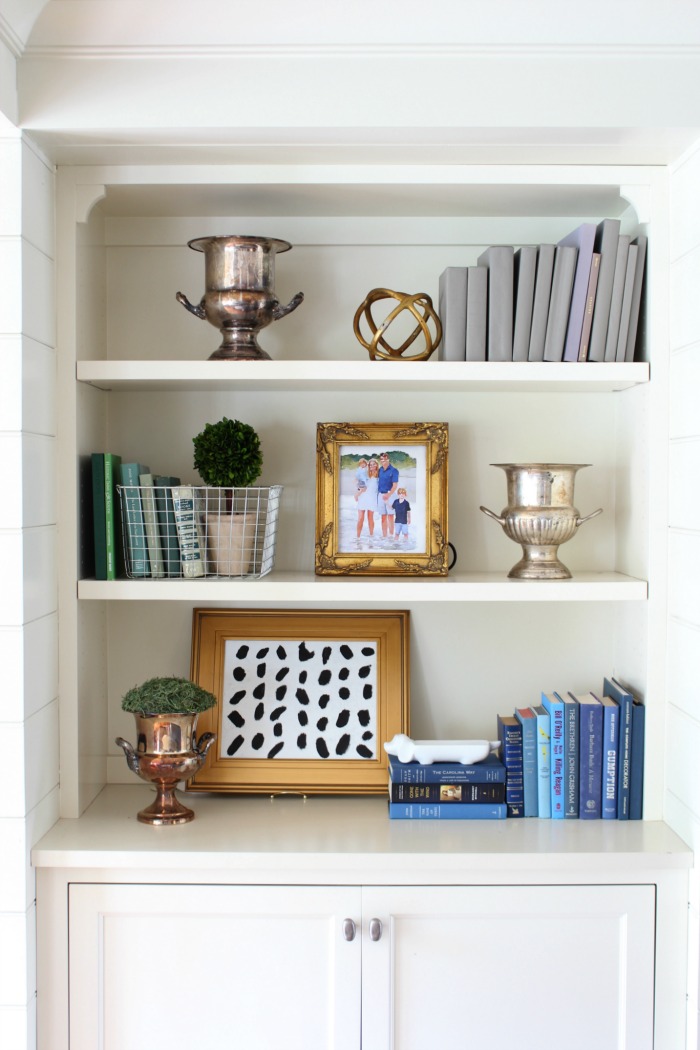
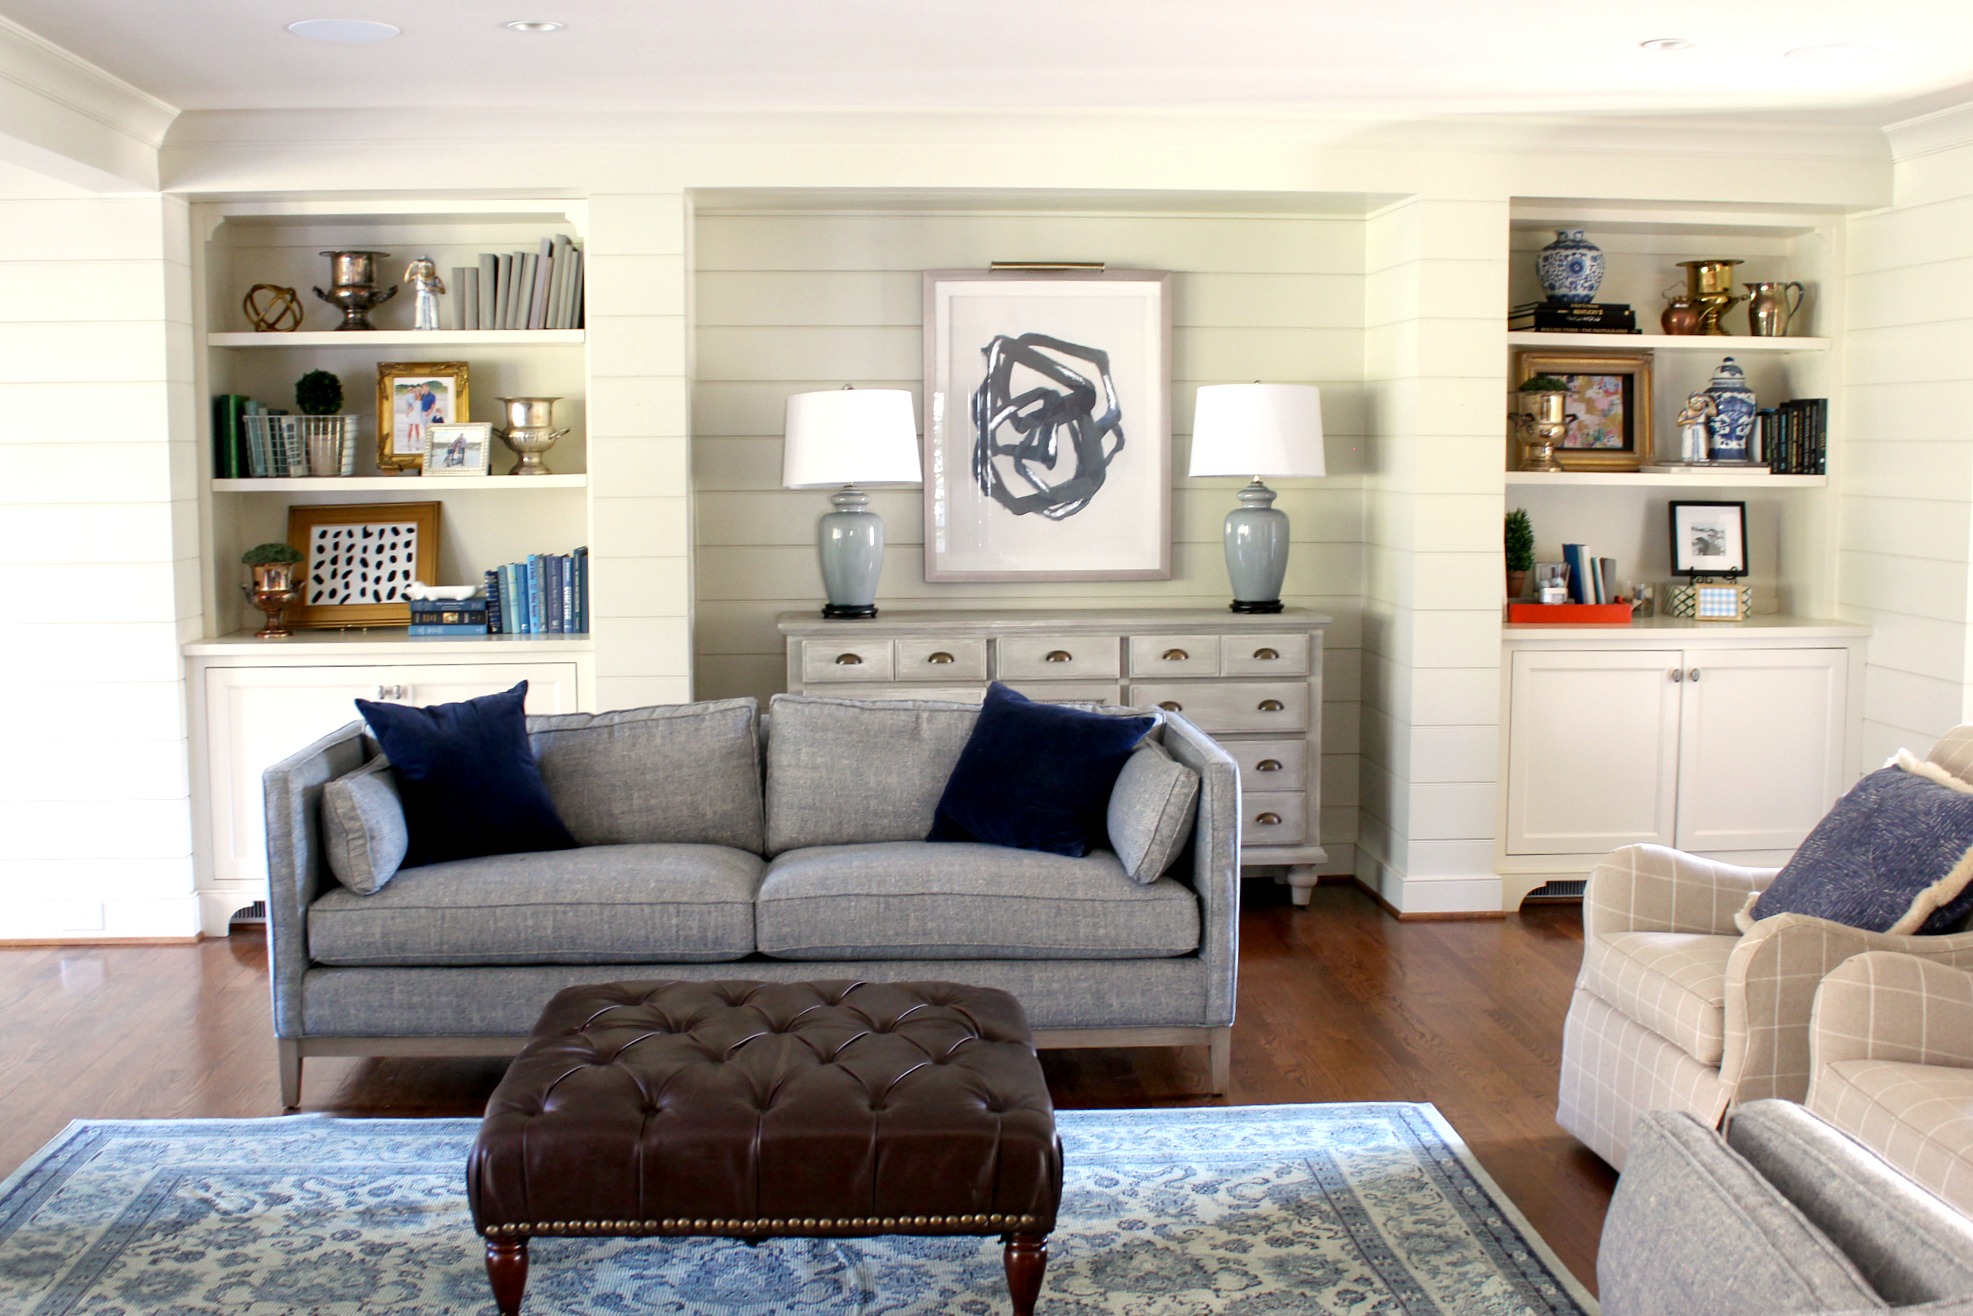
Start with the biggest items from your inventory. Then start placing these larger items on the shelves using a zig-zag method for similar items to create balance and continuity. In the photo below, notice how the books “zig-zag” across the three shelves: grey> green> blue. Then on the other side of the shelf is a reverse zig-zag with vintage silver ice buckets. Also, by grouping books by color it actually makes them feel like one cohesive larger item.
STEP THREE:
Now that the larger items are anchored, it’s time to add some smaller accent items. Remember the rule of threes and keep things in odd numbers, such as three or five, as this is more appealing to the eye.
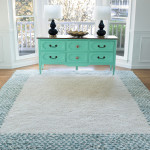
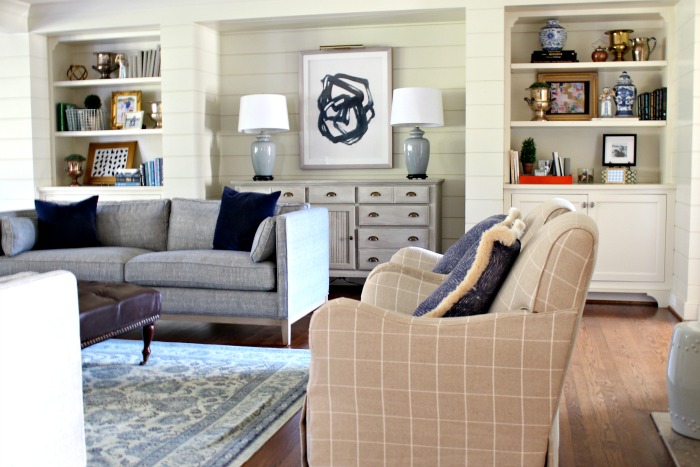
Another good rule of thumb is to limit the amount of colors you use. Of course, this isn’t a “rule” by any means but by blocking similar colors together and sticking to a limited color scheme it helps to bring a more cohesive look. Here you can see a wider shot of how the bookshelves colors coordinate with the Heirloom Mohawk Rug.

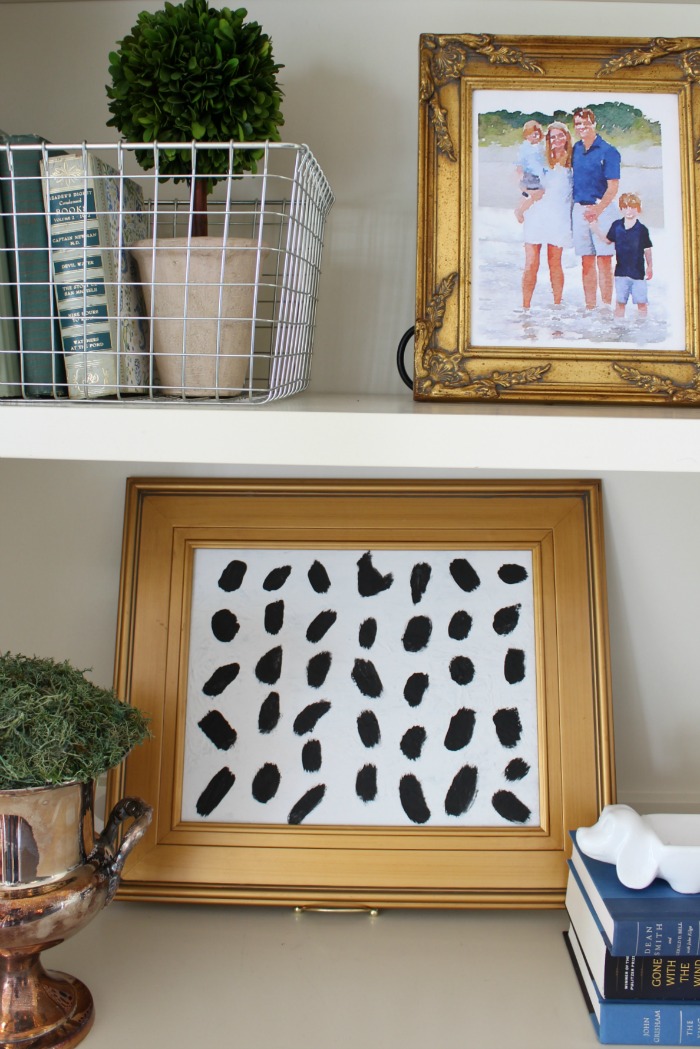
STEP FOUR:
Now take a step back and evaluate what’s missing. If you haven’t already, be sure to sprinkle in a few black accents as this will help ground the shelves and draw the eye in. If you don’t have anything on hand, a simple photograph in black and white is a good option.
Another option is to create some simple DIY art for a quick dose of black and white. Here you can see that I took a plain white canvas and added some black strokes in an ornate frame.
Another helpful splash is to add metallic to the mix. Here you can see how I added lots of gold and silver- again this helps it all feel cohesive and adds interest.
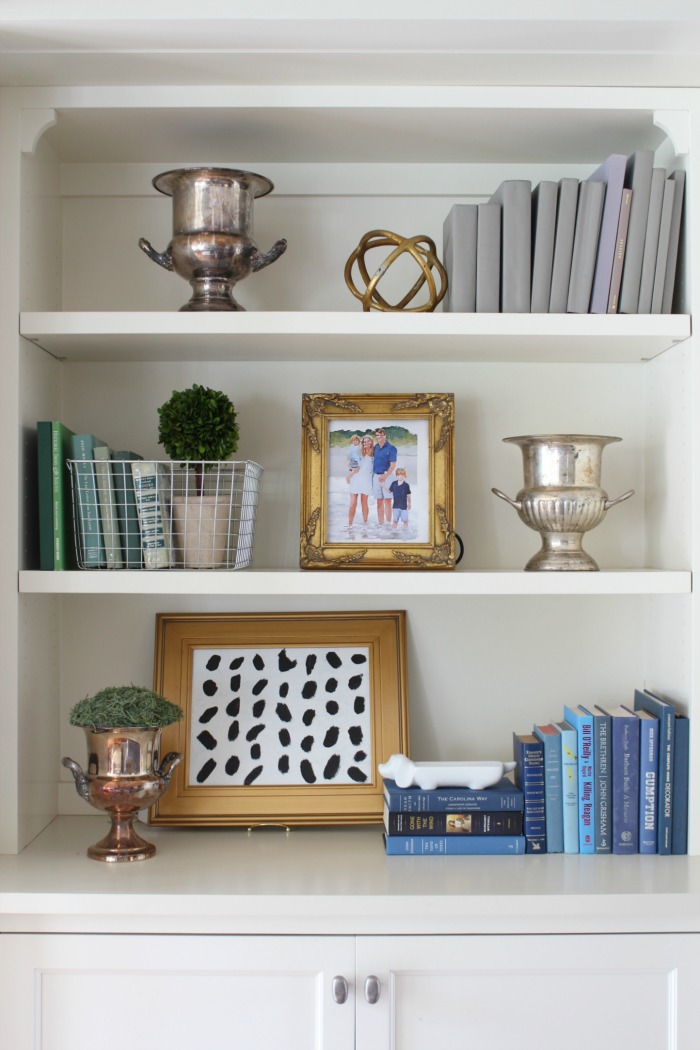
STEP FIVE:
Last but not least… LESS IS MORE! Edit, edit, edit until you get the balance you are happy with. While it can be tempting to cram all of the framed photos you have, try placing a couple larger ones up instead. Rather than jamming all of the shelves with books, let the space breathe. The shelves should bring a smile to your face, so keep at it until you are happy with them!
-Written by Heather from Southern State of Mind
Heather is an Atlanta girl with lots to say about home decor, simple DIY & crafts and adventures with family. Lover of all things navy blue, the beach, the south and entertaining. By day, she is Queen Bee chasing her boys. By night, she is Busy Bee zhushing her house. She believes iced coffee and margaritas can cure anything; and can’t-stop-won’t-stop scheming up simple ways to love her home without spending much.