It’s summer time, so that means it’s time to add a little creativity to inside your home or outdoor area. It’s FUN and EASY with these 3 DIY Painted Flower Pot Projects we discovered. Have a DIY Party, keep the kiddos occupied with a summer project, design some for a bridal shower or wedding. There are so many fun reasons to start painting your own flower pots! So, go pick up your terra cotta plant pots, paint, and get painting!
3 Easy DIY Painted Flower Pots We Love:
- It’s Black & White
- Pretty in Pink
- Dorm Room Details
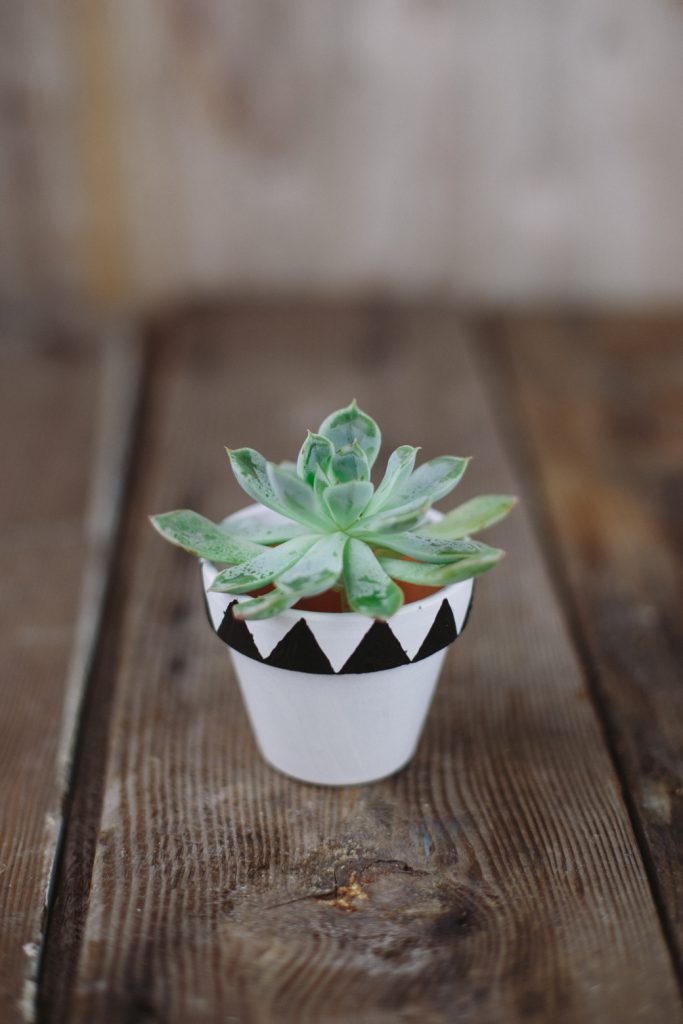
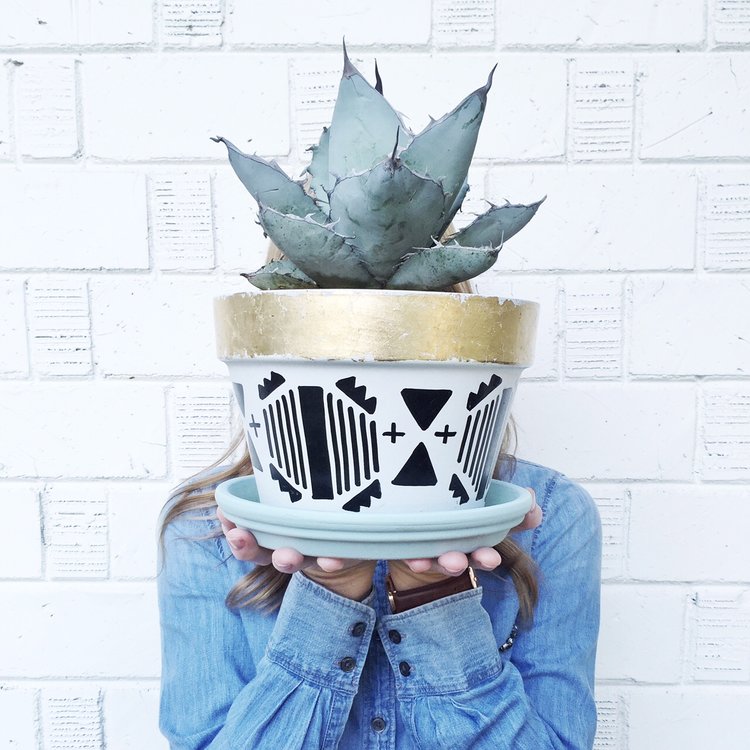
It’s Black & White
{Source}
Supplies You’ll Need:
-Small terra cotta pot
-White acrylic craft paint
-Martha Stewart Opaque Glass Paint
-Pen or pencil
Directions:
- Paint your terra cotta pot white and let it dry.
- Use your pen or pencil to sketch out the zig zag pattern around the top edge of the pot.
- Let air dry for 30 minutes. If you’d like to make the paint waterproof and permanent, you’ll need to bake it. Place the pot in a cool oven and heat to 350ºF, then bake for 30 minutes.
- Let the pot cool in the oven before removing it. Let it sit for 72 hours before using, to be safe. Now you’re ready to plant little pretty things in it!
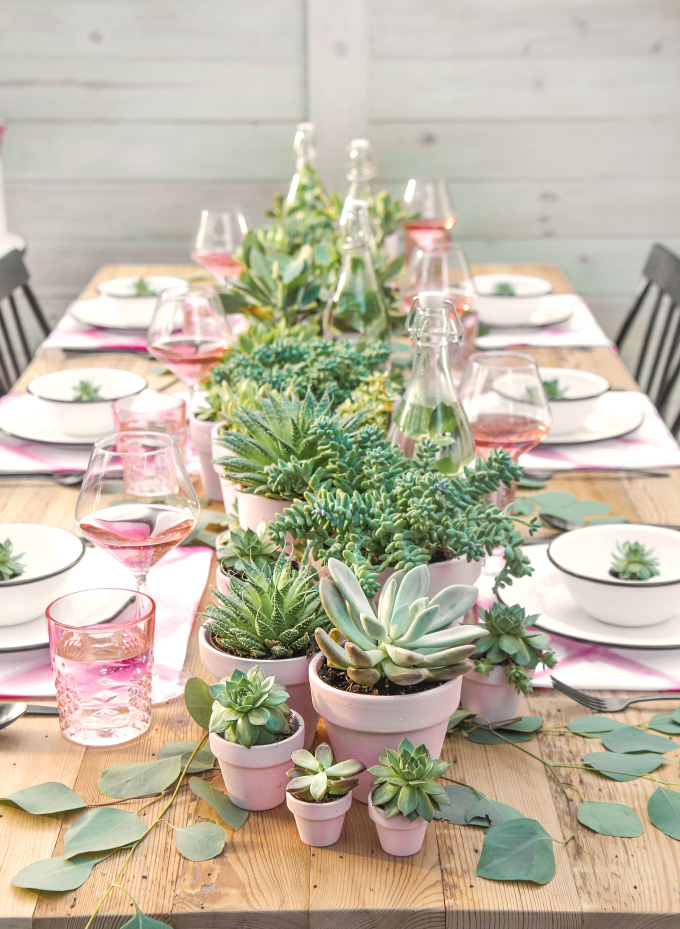
Pretty in Pink
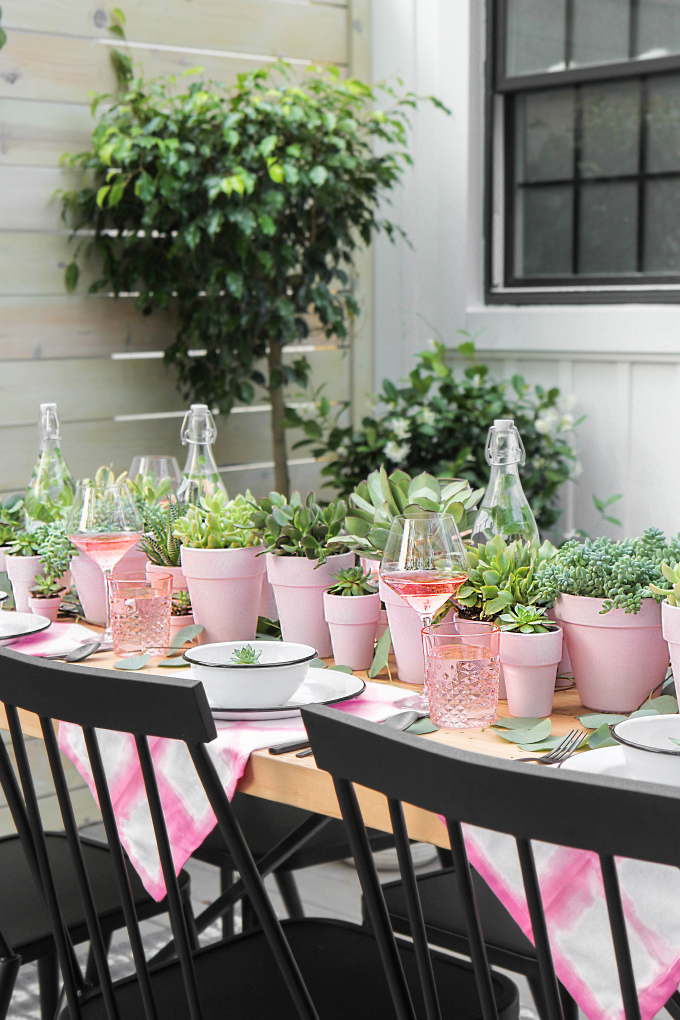
Either prep for a party by creating your own beautiful centerpiece, like I Spy DIY did. Talk about a tablescape to fall in love with! She created a centerpiece with two of her favorite things, pink + succulents. You can either create these before a party or gathering or have a DIY Party with girlfriends while you enjoy a summer cocktail, snacks and conversation.
{Source}
Supplies You’ll Need:
-Pink Spray Paint
-Water Sealant Spray (optional)
-Succulents*
-Various Sizes of Terra-cotta pots*
*Note: You can find the larger pots at hardware stores and the smaller ones at craft stores. And to save money on succulents, you can buy Hen and Chicken succulents and break them up.
Directions
- Clean the terra-cotta pots to remove any dust or dirt- do this 24-48hrs before you paint so they can dry
- Apply water sealant to the inside of the pot
- Apply spray paint and allow to dry
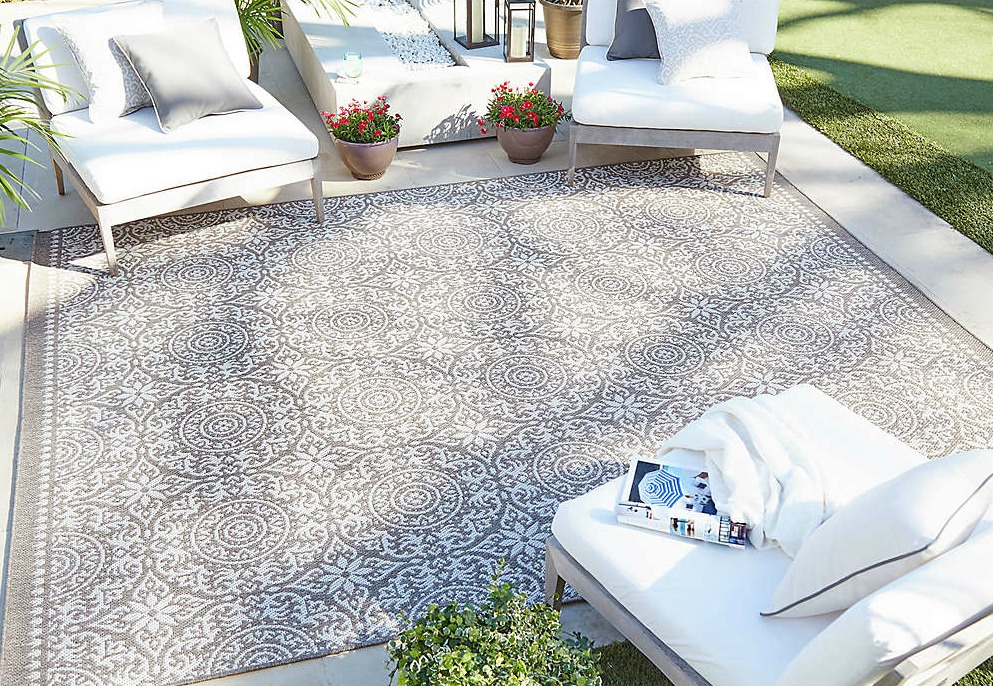
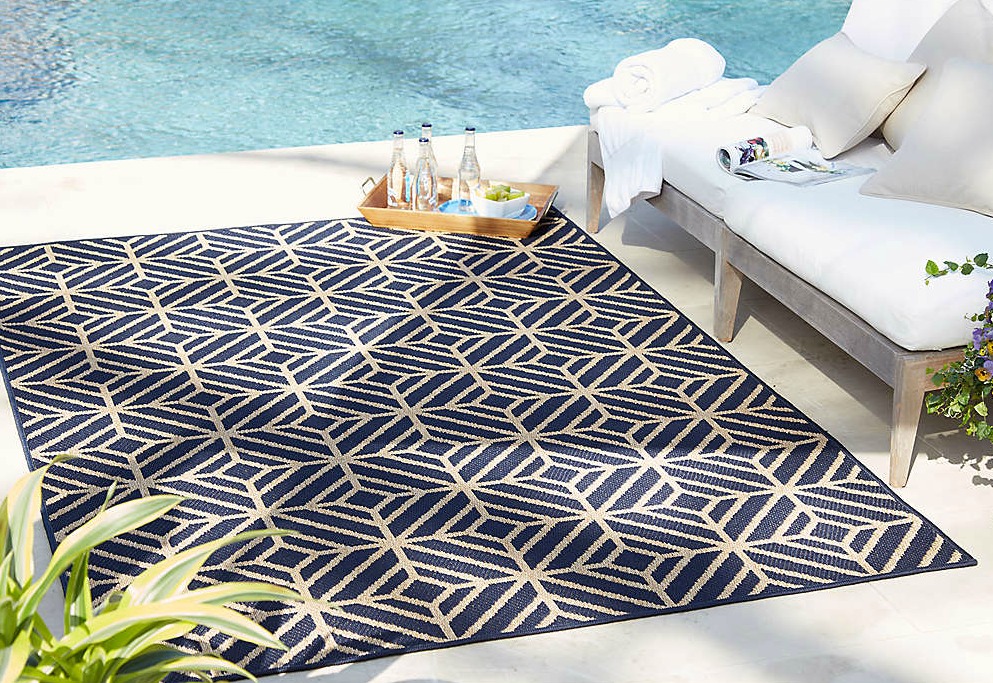
About that party, above! To complete your tablescape look, make sure you have the perfect area rug in place. Here are a couple of Outdoor Rugs we think would complement your space nicely.
Go for chic and contemporary with our Mohawk Home Rockport Indoor/Outdoor Area Rug from the Oasis Collection. With clean lines, stunning symmetry and crisp details, you’ll fall in love with this navy and natural look for your outdoor area.
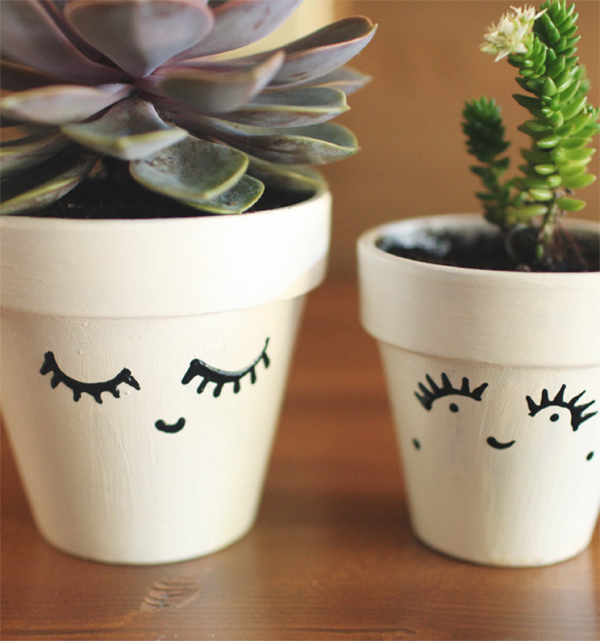
Dorm Room Details
Yes, it’s summer time but if you’re anything like me, you’re planning ahead! Summer is quite possibly the fastest season, so before you know, it will be time to head back to college. Usually, that means living in small spaces. Here’s a super cute
{Source}
Supplies You’ll Need
-Terra Cotta Pots + Saucers
-Multi-Surface Black Point Pen
-White Flat/Matte Spray Paint
-Fine/Medium Grit Drywall Sanding Sponge
For Gilding:
-Gold Flakes (you can also use sheets)
-Gliding Adhesive
-All-Purpose Sealer
-Foam Brush
Directions:
- Clean your terra cotta pots and saucers
- Spray your pot + saucer with Matte Spray Paint
- Draw pattern with pencil
- Trace + Fill pattern with paint pen
- Snazz up with gold
- Add your succulents and find a space for your latest DIY creation!
Oh, and if you are looking for a quick floor refresh for your dorm room, take a peak below with some Mohawk Home Area Rugs that match the Aztec theme!


Happy painting + decorating!