I have always loved Halloween! It literally baffled me last year when my husband (who does not share my enthusiasm for the spooktacular soiree) asked me what day Halloween was.
“October 31st!” I shockingly declared.
Ever since early elementary school, I’ve counted down the days each October until the mysteriously magical night of All Hallows Eve. My mom made our childhood costumes, pumpkin selection and Halloween house decorations so much fun. I’ve grown up considering Halloween a major holiday (at least in my book!) and am loving sharing the festive fun with our toddler this year!
Last Halloween, we were just emerging from the fog of life with a newborn, so the extent of our decorating didn’t go past a few pumpkins on the porch. But this year, our busy 16-month-old is starting to take notice and much to my excitement, his little face lit up with a grin when we perused the Halloween isle at our local Michaels.
“Yes!” I triumphantly thought, “a fellow Halloween fan!”
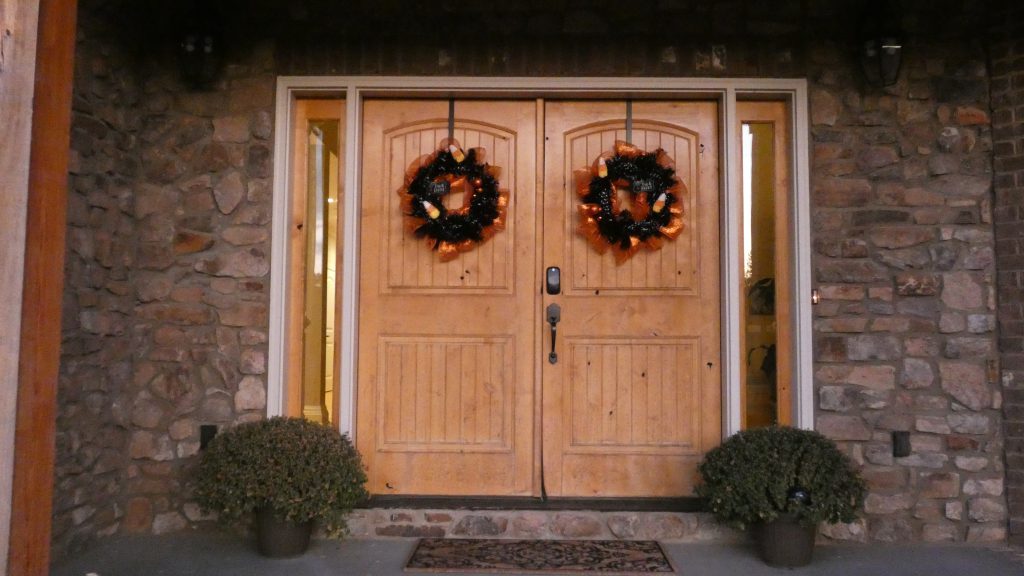
We pondered and paused, picking up different pieces of festive flair before we decided to try our luck making a couple of Halloween wreaths for our front doors.
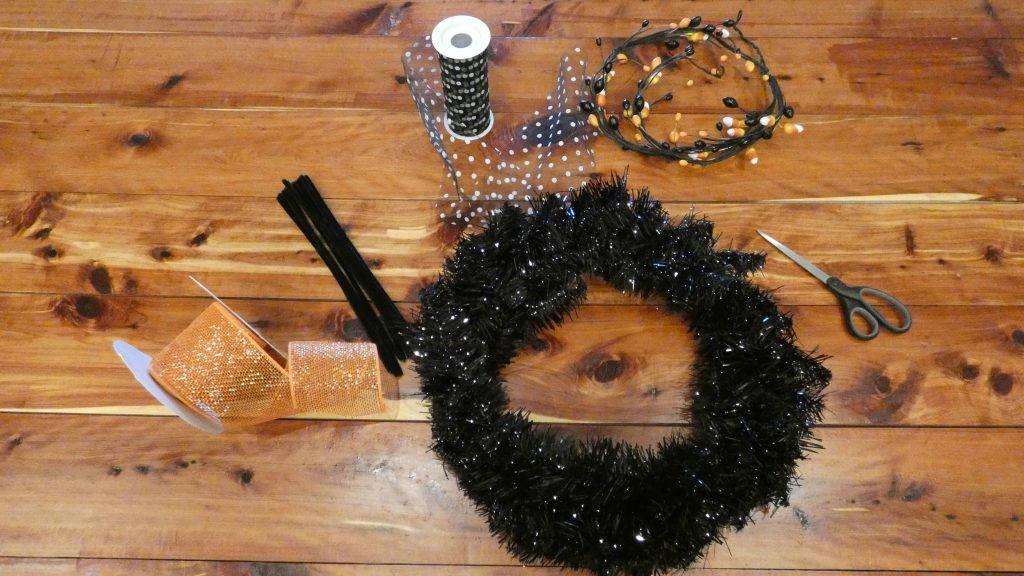
Once we got home, I laid out our supplies:
- Two black wire wreaths
- Two sparkly “Trick or Treat” signs
- One spool of black and white polka dot tulle ribbon
- Two metallic ball picks
- One spool of orange wire trimmed ribbon
- Black pipe cleaners
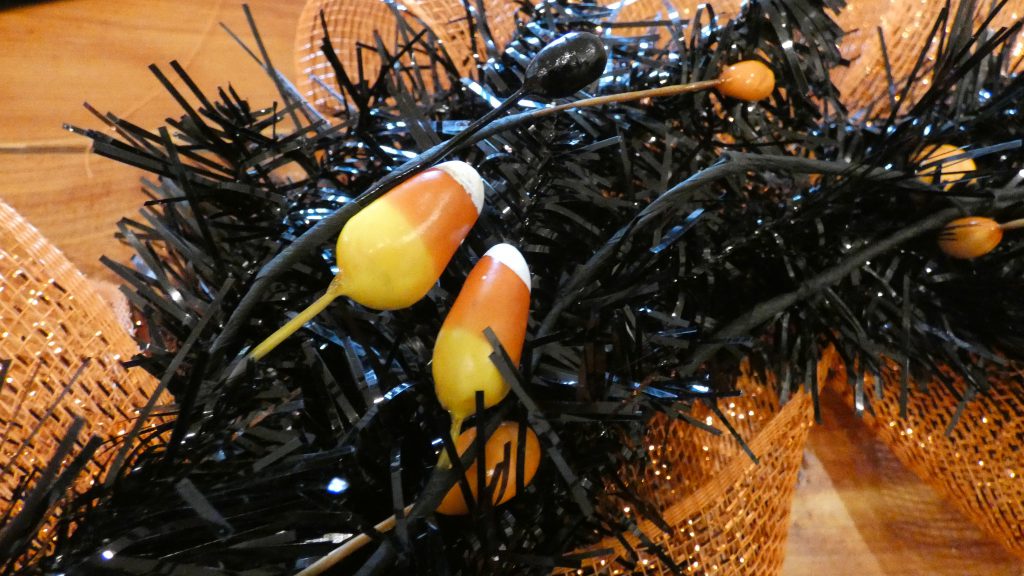
- Four giant candy corns that my son picked out
Overwhelmed, I suddenly lacked the enthusiasm I had in the store and the supplies remained untouched on a corner of our kitchen table. But just as the first hint of fall began to fill the air, I put my favorite pumpkin bread recipe in the oven and decided to conquer the wreaths during naptime one day. Much to my relief, they were so much easier (and more fun!) to assemble than I imagined.
When my son awoke from his nap, I proudly showed him the finished wreaths and he gave me the sweetest smile as he reached out to touch the candy corn decorations he’d picked out months before. Between his reaction and the reality that I actually finished a craft project, I was on a roll and ran back out to the store later that week to buy a few more supplies to make a wreath for my mom too. With a little more confidence, I decided to photograph the entire process for this blog post.
- I started out with similar supplies (I used candy corn garland on her wreath instead of the picks and sign as the Halloween selection at our Michaels was now slim).
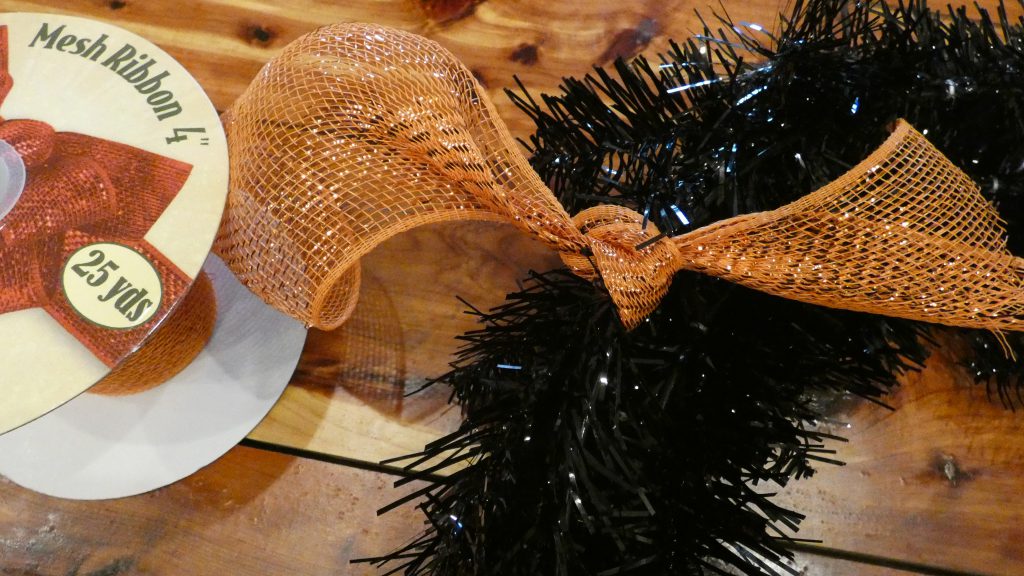
- Beginning with the mesh, I flipped the wreath over and tied a knot around the wreath’s bottom wire to secure the ribbon in place.
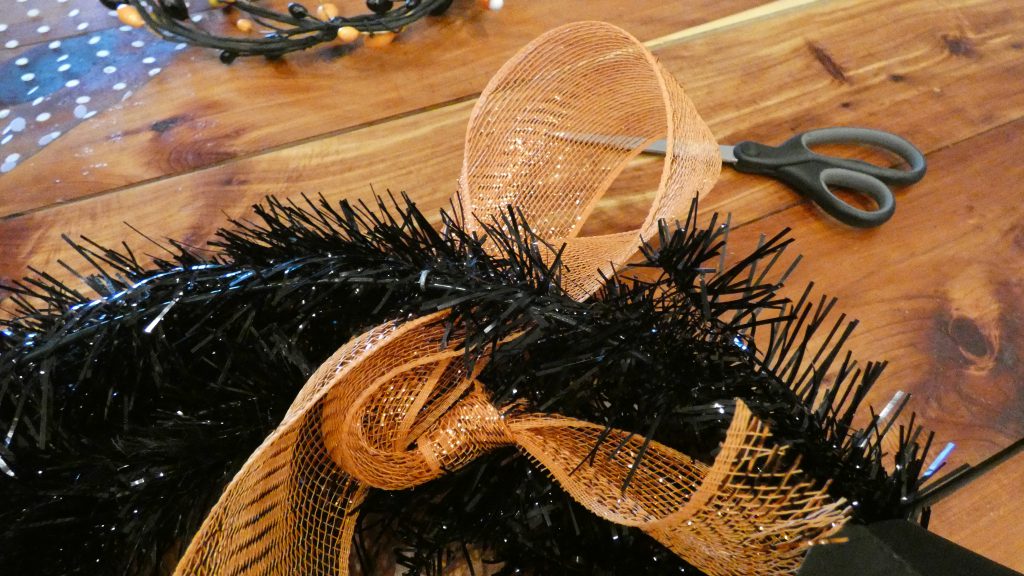
- Next, I trimmed a long section of the ribbon off the spool to make it easier to work with and began looping it through the top wire, leaving plenty of slack above and below.
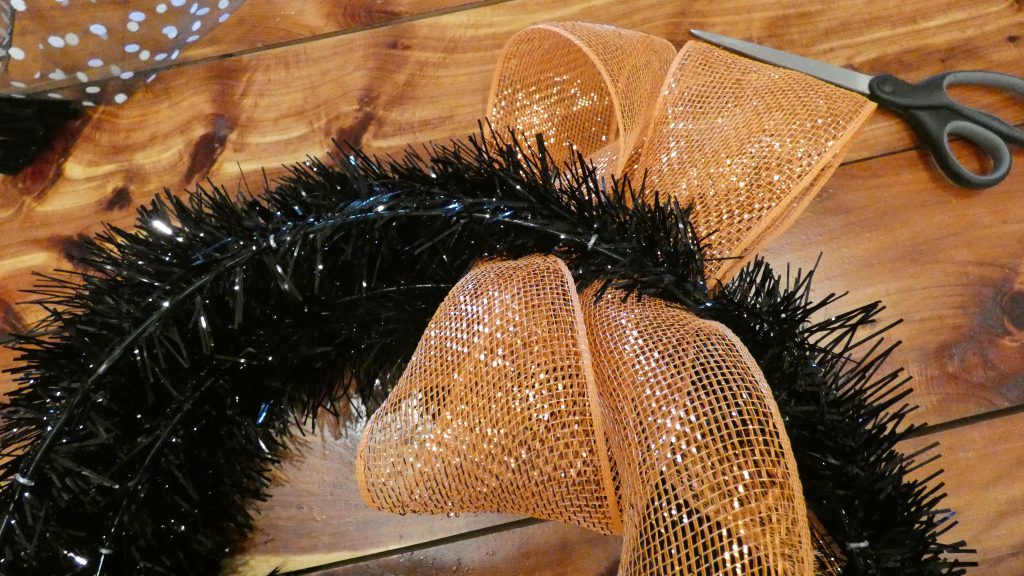
- I continued the loop process all the way around the backside of the wreath, aiming to keep my loops somewhat even.
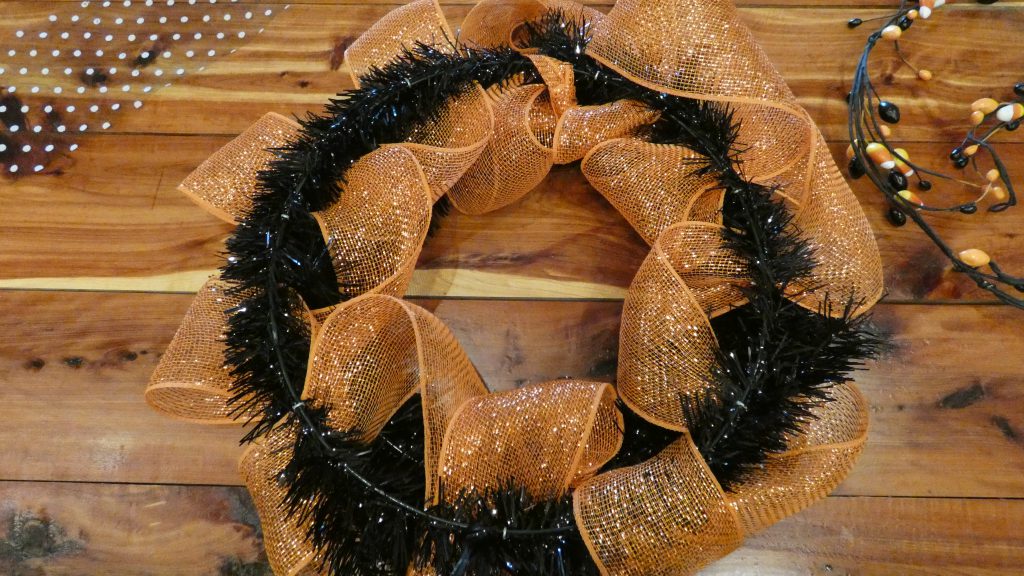
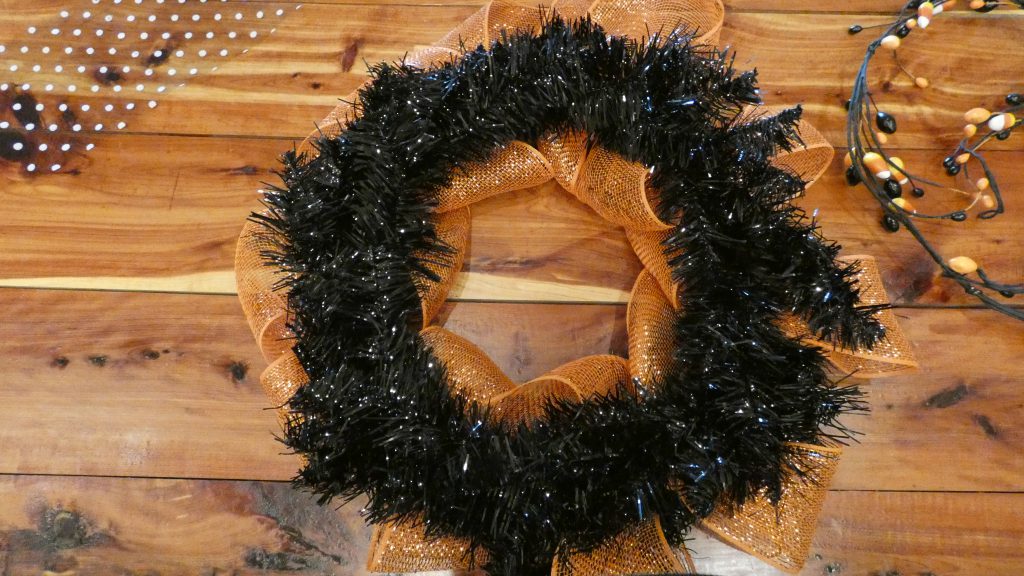
- Once I had loops all around the wreath, I was ready to move on. The first picture above is the back of the wreath (where the looping takes place) and you can see it looks far from perfect. My goal was thankfully more playful than precise! The second picture is the front of the wreath.

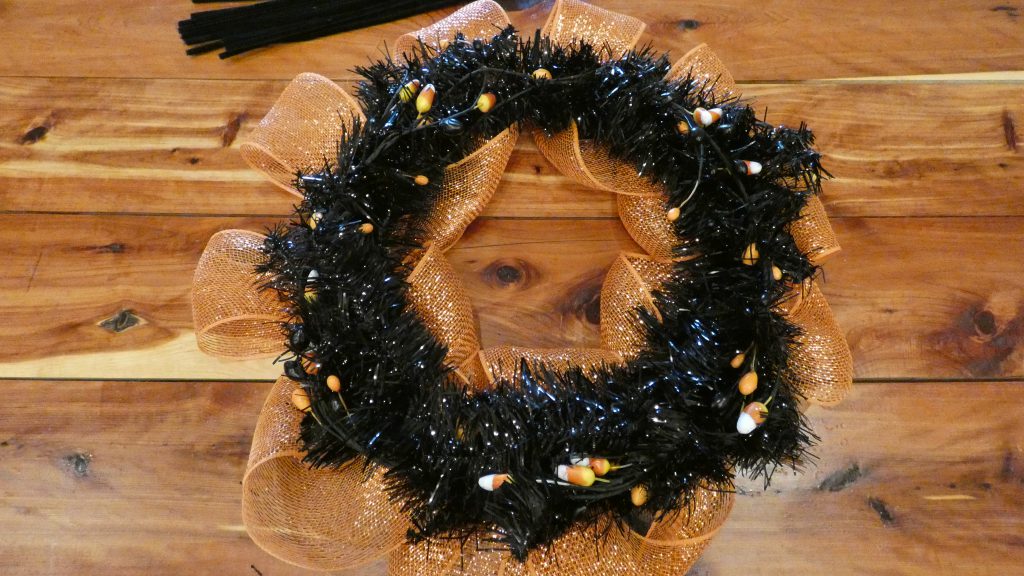
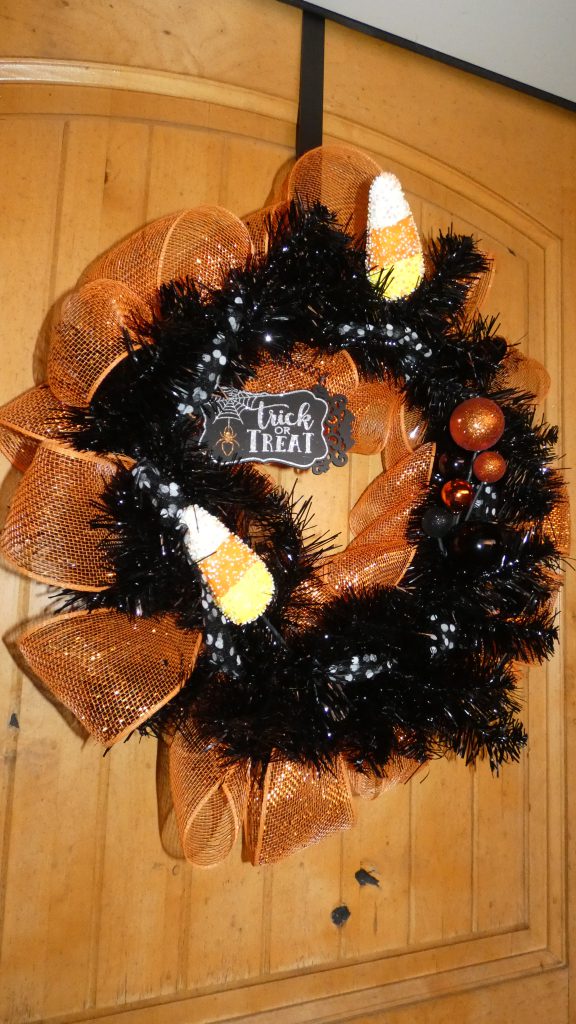
- Looping the mesh ribbon is definitely the trickiest part. The next two steps were fairly simple and could be done in reverse order too! I added the candy cane garland, quickly securing it in place with the wreath’s bristles and cut up pieces of the pipe cleaner to loop under the wire.
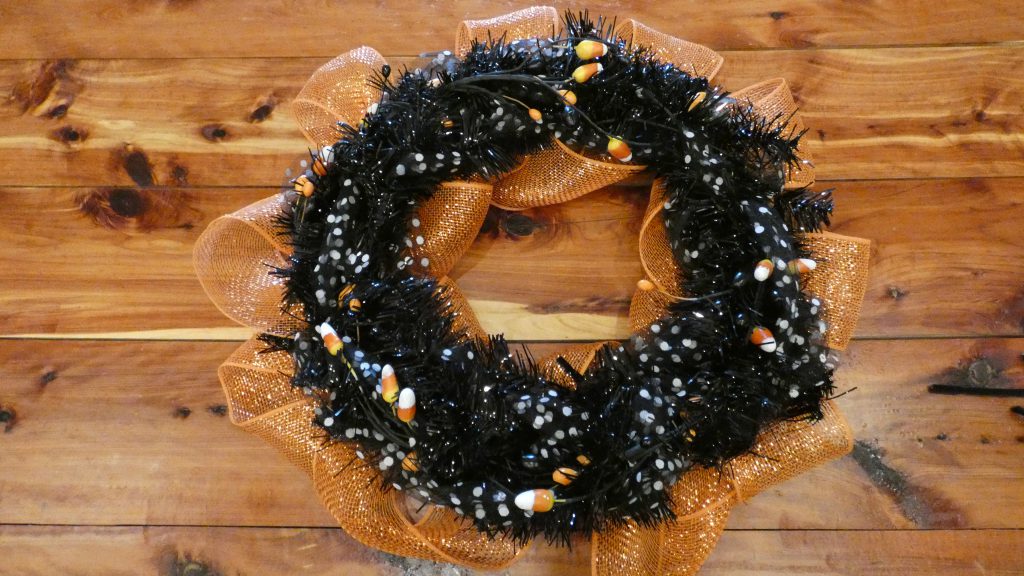
- For the last step, I weaved the tulle ribbon through on the front side of the wreath, securing it with a twist of the wire bristles or a piece of pipe cleaner (just like how I secured the garland). The tulle ribbon helps to fill in gaps and adds more texture to this whimsical wreath!
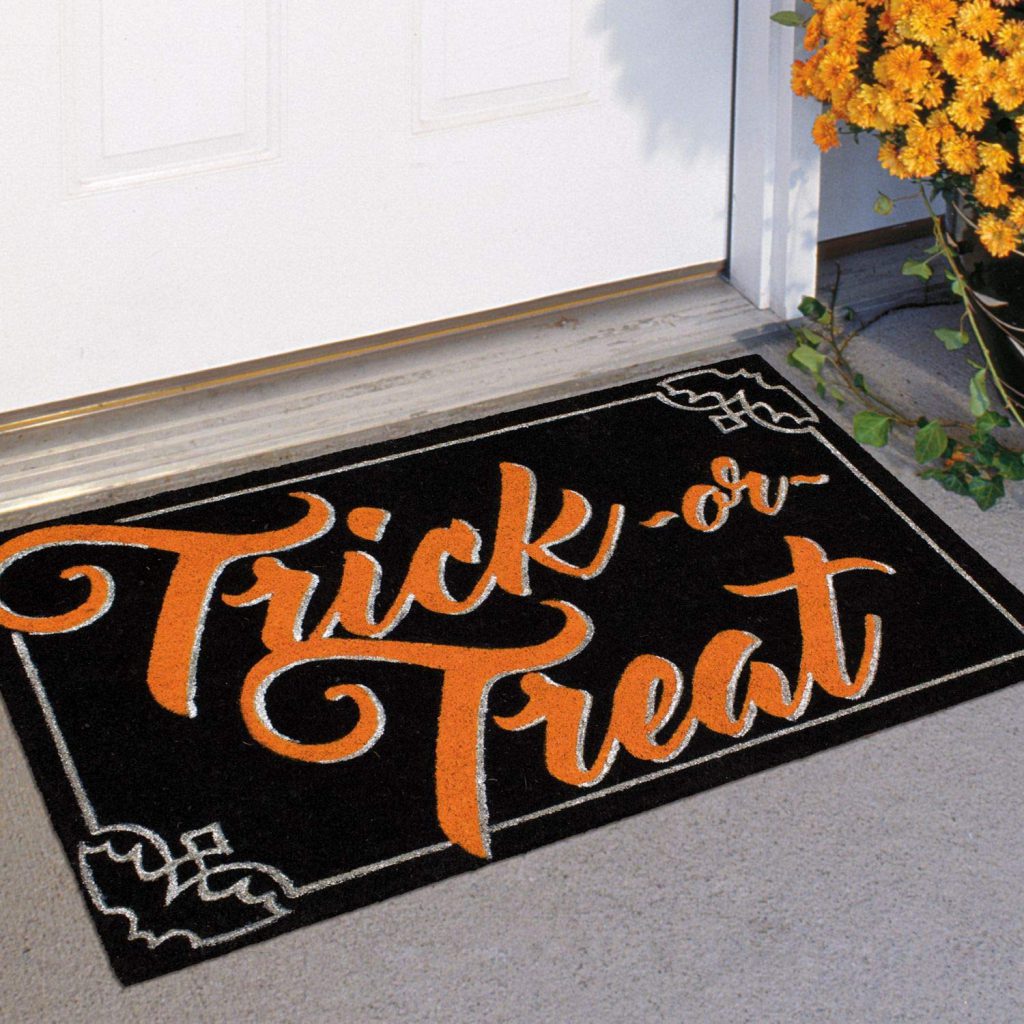
No time to tackle a craft project this year? No worries! Add seasonal style spookily fast with one of our festive Halloween doormats!